If you read my first post “Finding Worth Above Jewels” you know that I’ve been working on making bread from scratch.
After trying a few different recipes (and throwing lots of bad loaves to the chickens). I’ve finally found a recipe that I’m satisfied with.
Here is what I like about this recipe…
The recipe is super simple
It is cheap
It’s quick to put together
It is healthy
The recipe calls for five ingredients!
I love recipes that are simple and only require ingredients that I always have on hand.
This specific recipe calls for flour, yeast, salt, vegetable oil, and water. So simple!
I found this recipe online while searching for an easy bread recipe.
It was titled “Make your own bread for $0.64.”
So, of course, I was all over that. Now, I did the math and it’s closer to 75-80 cents for me (at least for now if I decide to buy baking supplies in bulk that’ll change) but that’s totally worth it for me.
Now one reason I have always put off making bread is it takes so long to make. I mean it takes two hours to rise! This is true bread takes time to rise, but you can do other things as it rises (just like you do other things as it bakes). Time is money though so if I spend half an hour making bread that begins to add up. And that’s why I love how quick this bread comes together. It takes 10 minutes to let the yeast foam and the rest is just throwing ingredients into the mixer.
I have been blessed and own a kitchen aid mixer. If you don’t own a stand mixer it may take 5-10 minutes longer to mix and knead the bread. Nonetheless, it should still be a quick and simple process.
Sure you can find store bought bread for cheap, but it’s full of preservatives and other junk you don’t want to be eating. I also find it hard to buy a good hearty bread that satisfies my appetite. Cheap store bought bread just can’t compare to the hearty homemade bread. I love knowing exactly what is in my food, that’s why I love growing and making my own food.
Now maybe you don’t eat sandwiches or bread that often. Many people like to eat low gluten or low carb diets. Maybe you just aren’t a big fan of bread in general. That’s ok, but if you have a potluck or other event you need to bring food along to, I highly recommend this bread.
My husband and I are part of a young adult group. We get together a few times a month for Bible studies and/or other events. Most gatherings include a meal. This can become expensive to budget in as it cost gas to travel as well as food to share. So, I try my best to take good homemade food that others enjoy (everyone loves homemade food as it is something most people rarely get) but is good for my budget as well.
I followed her directions and the bread turned out great. She tells us to leave the yeast to bloom for ten minutes, all the other recipes I tried said to wait for only five minutes. My husband and I saw a definite difference in five extra minutes. It is important to let the yeast sit and activate so the bread is light and not heavy, so it can rise and be fluffy.
I took pictures of some of my baking process (my phone died midway through so I missed some of the steps). But I did get a picture of what the yeast should look like so with that in mind, here is Thee Bread Recipe!
Activated Yeast
Ingredients
1 cup hot water
2 Tbsp Sugar
2-3/4 tsp yeast (1 packet + 1/2 tsp)
3 cups all-purpose flour OR bread flour
1/4 cup vegetable oil
1-1/2 tsp salt
Instructions
In a stand mixer (if you don’t own one just use a regular mixing bowl) mix hot water(it doesn’t have to be boiled just hot tap water is fine), sugar, and yeast. Let it sit for 10 minutes (don’t skimp on the time the yeast needs to bloom).
Put your dough hook attachment on (if using a stand mixer) and add the oil and salt. Mix in flour one cup at a time.
Mix until the dough sticks to the hook and is not on the sides of the bowl. Continue to mix for an additional 3-4 minutes.
* If not using a stand mixer mix oil and salt in with a wooden spoon or spatula. Add flour one cup at a time and continue to mix until the dough pulls away from the sides of the bowl in one lump. Then pull the dough out and knead for 3-4 minutes.*
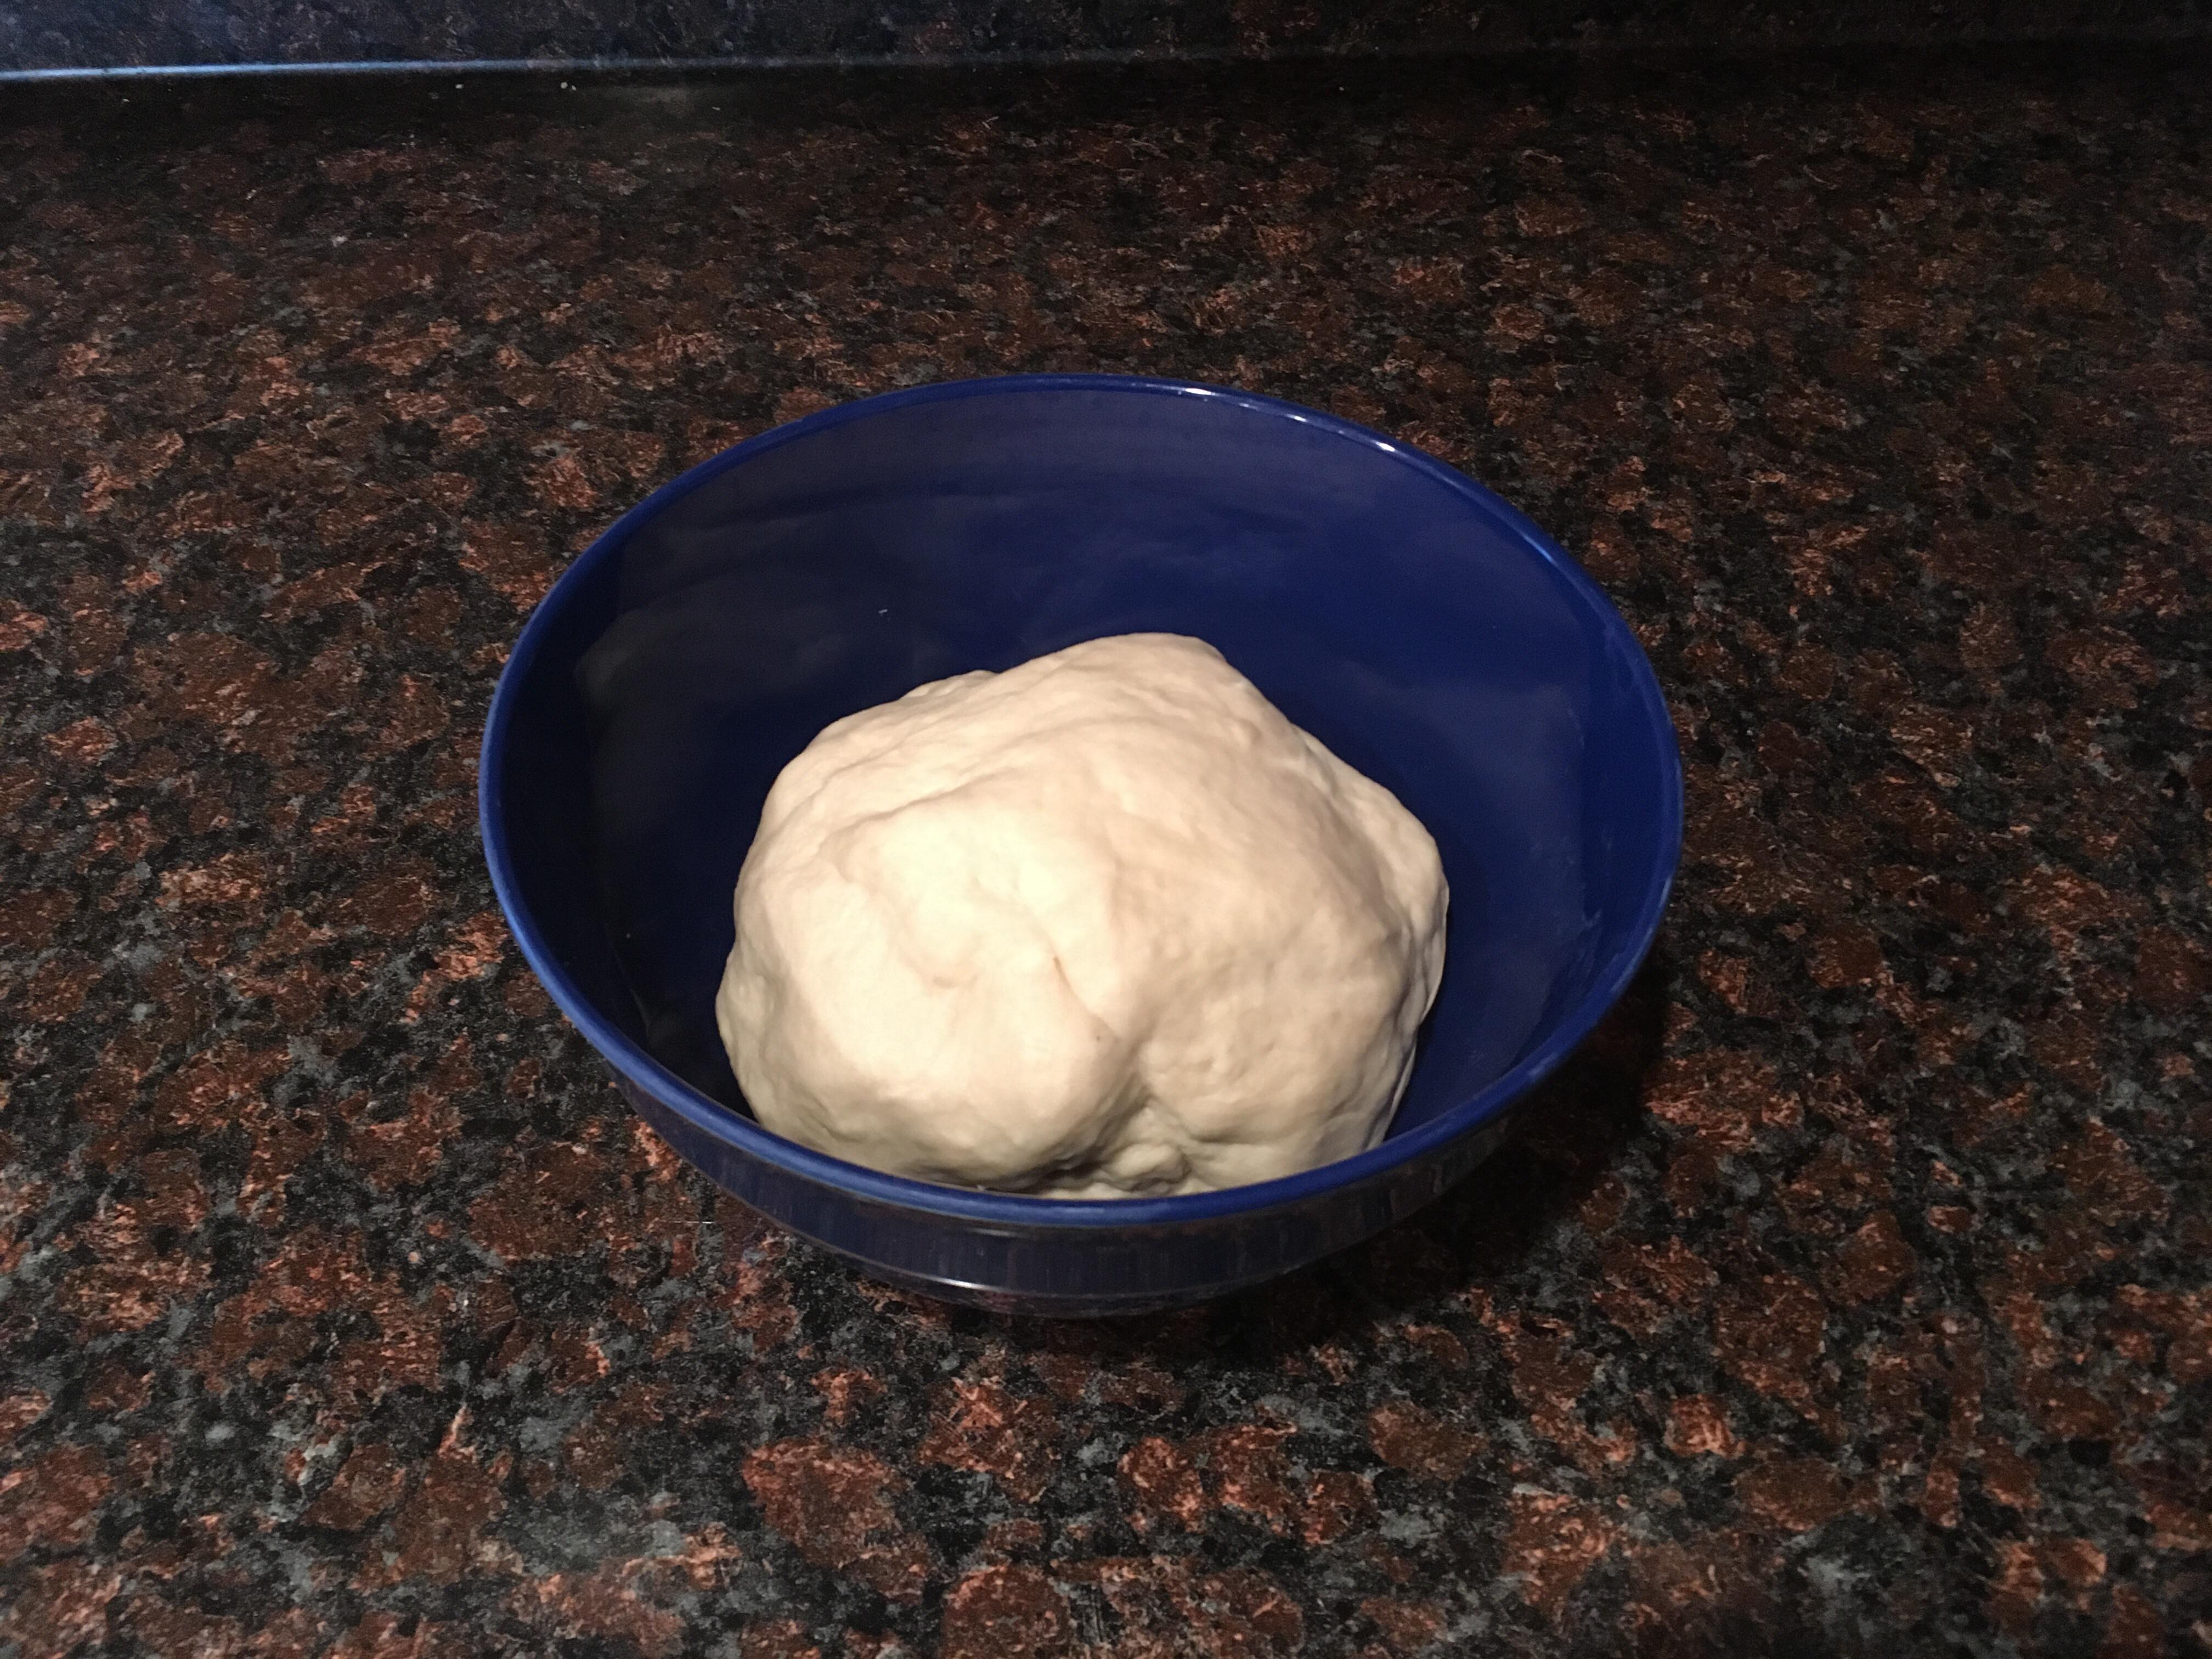
Place dough in a clean bowl with a kitchen towel on top. Leave the dough to rise 1 1/2 hours (or until double in size).
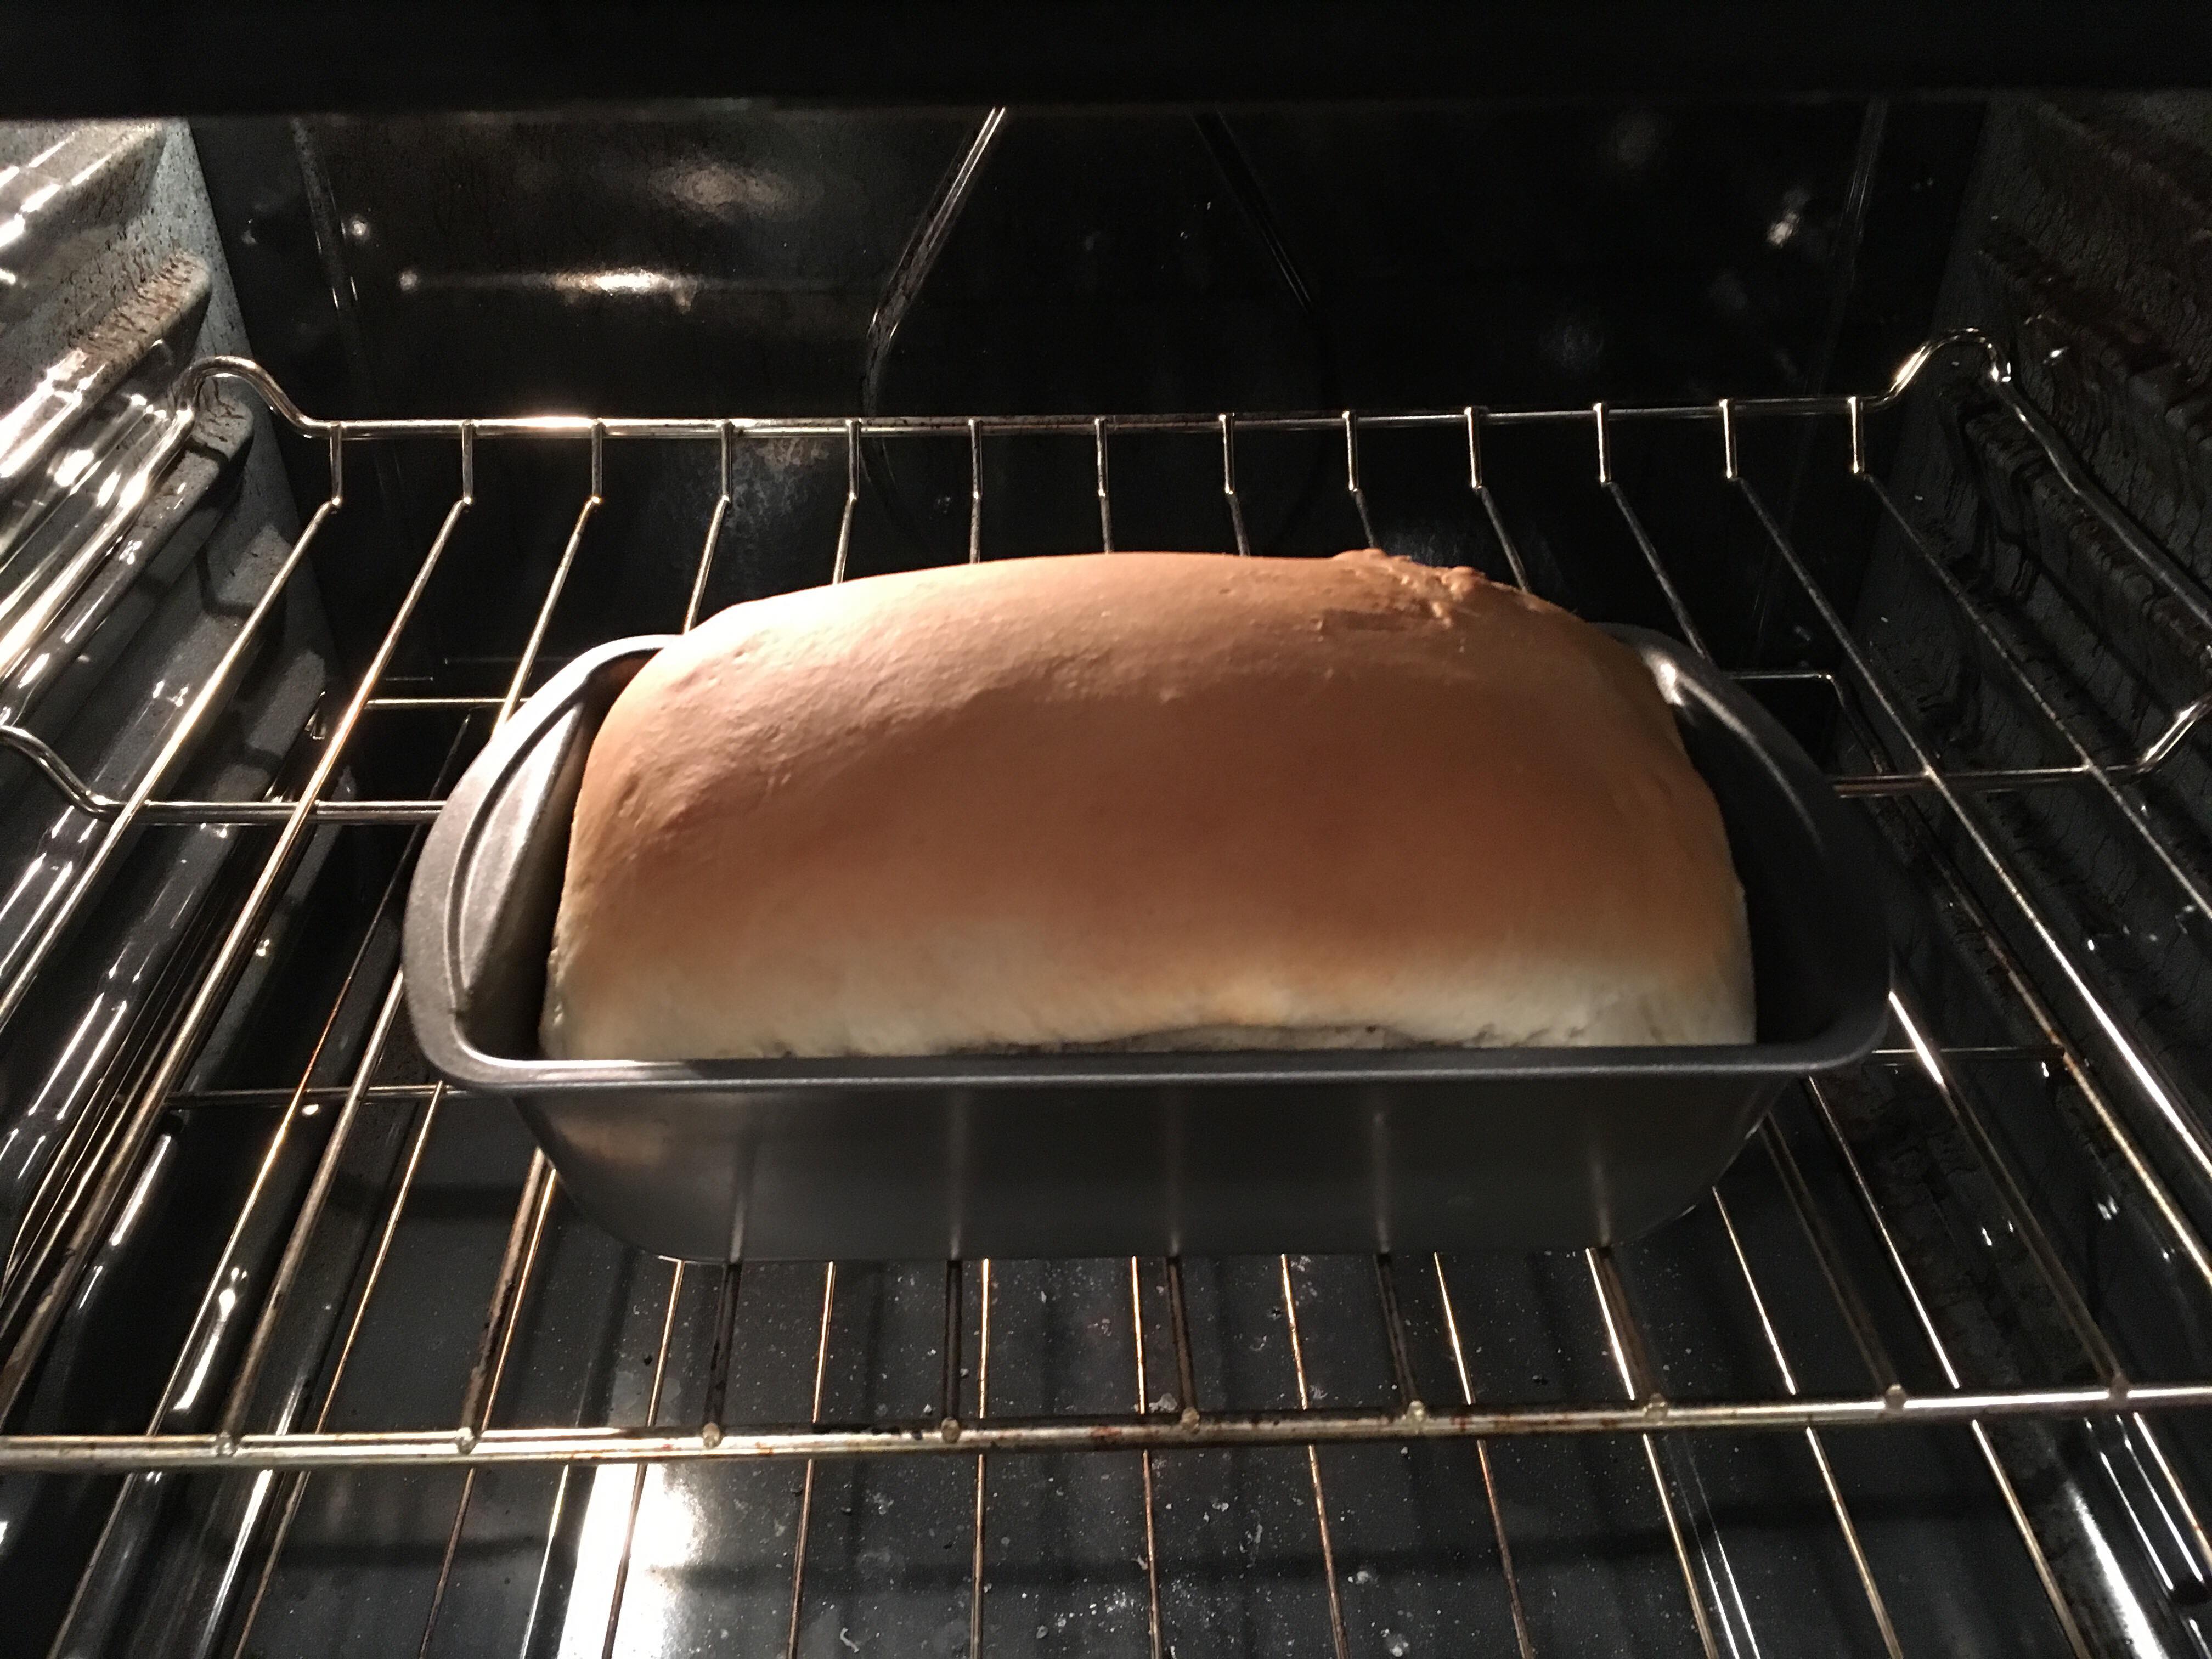
After dough has risen, punch it down. Form the dough into a loaf and tuck seam underneath. Place the dough into a well-greased loaf pan. Cover and let it rise another hour.
Turn oven on to 350 degrees and bake bread for 25 minutes.
*Tips
Turn oven on 20-30 minutes early, (before the bread is done rising) this will save time and help the bread to rise.
Bake for 20 minutes and check the bread to see if it needs five more minutes or not. Everyone oven is different it’s good to be in the habit of cooking a little shorter than the recipe calls for just in case.
Use your time between letting the yeast bloom, and the bread rise wisely. You can get a lot done in ten minutes don’t just stand around waiting, instead find something useful to do as you wait.
If you have any questions let me know in the comments.


")


Leave a Reply